How To Add a Faucet to the Cabela’s/Portal Camp Kitchen
When they say you packed everything including the kitchen sink, they don’t quite understand what they are talking about. Sinks are easily replaced. A plastic bin that holds my propane cylinders is good enough to replace the kitchen sink.
The kitchen faucet, however, is priceless.
While Mike and I were on our Epic Journey, traveling in our teardrop trailer for twelve days, I missed a sink the most. We noticed the Reliance Sink in our teardrop was leaking into the sleeping cabin (?!), so we had to stop using it. I dumped the propane cylinders out of their plastic bin and washed dishes in it instead.
Even though we had water at every site we camped at, I had to fill my teapot and newfound “sink” right at the water faucet, nearly drowning spiders every time. How I wished I had a hose and a faucet that somehow attached to my camp kitchen.
When I got home, I looked EVERYWHERE for a way to add a faucet to my camp kitchen or a new camp kitchen with a faucet. I didn’t find anything that was made to do that, so I headed to the hardware store to make it myself.
Here’s a video of the final product:
You can see more detailed pictures of how I made the faucet after the break:
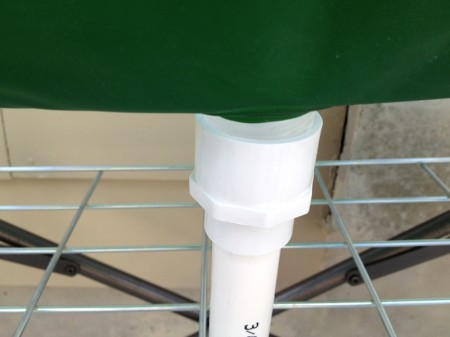
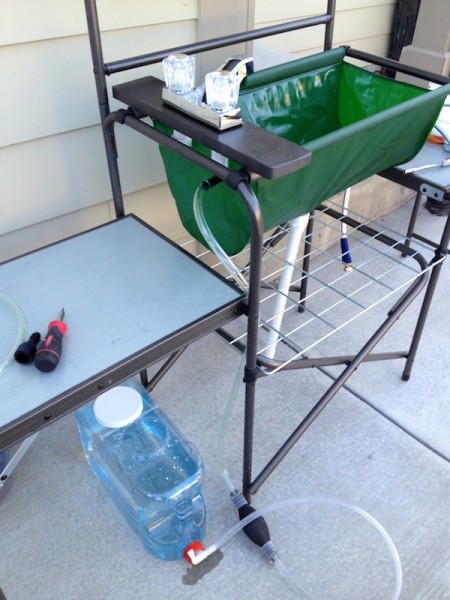
Firstly, I fixed the drain by adding a connector and some 3/4″ PVC pipe. I found this connector in the sprinkler repair section.
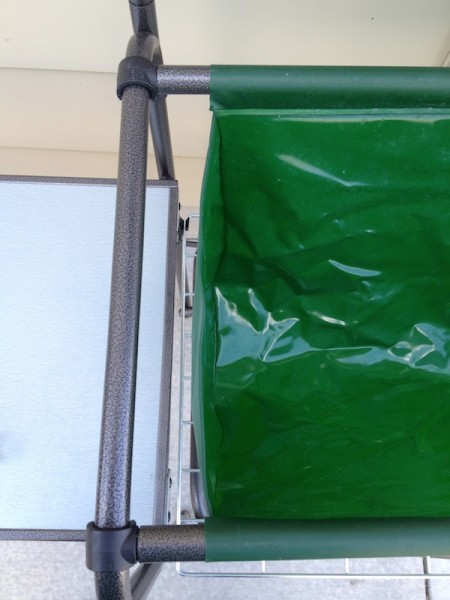
The drain is smack dab in the center of the rack beneath it, so for it to hang straight, I moved the sink to the right of the attachment poles. That also provides room for the faucet board to be attached.
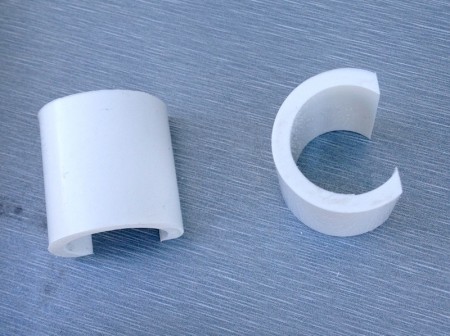
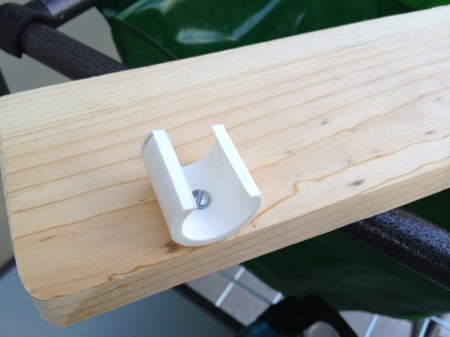
The next step was to cut 1 inch slices of 3/4″ PVC pipe and then slice them. We took about a quarter of the pipe off and it snaps onto the attachment bars perfectly. The faucet board does not move around or wiggle.
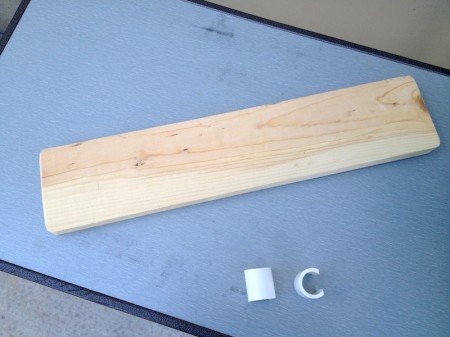
Then we cut the faucet board. It was a 1″ X 4″ board that we got from the scrap pile at the home improvement store for a dollar. We cut it the same length as the original top that was made to cover the sink, but you could make it shorter if you want.
I held the board onto the attachment bars where I wanted it to sit, then I marked where the bars hit with a pencil (see the marking on the board). Then I placed the PVC pieces on that spot and drilled a hole through it and into the board a bit.
I screwed the PVC pieces onto the board with 1″ screws.
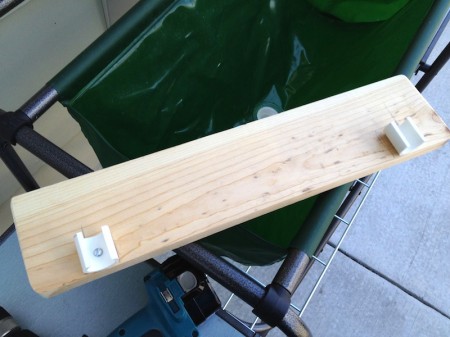
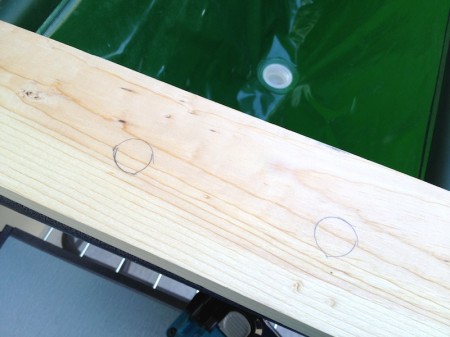
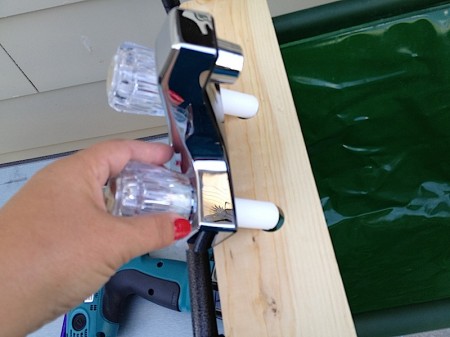
Now, I snapped the faucet board onto the attachment bars and checked to make sure it stayed in place. Then, I took the cheap bathroom faucet and positioned it where I wanted it to be. I ran a pencil around the large water input valves so I knew where to drill.
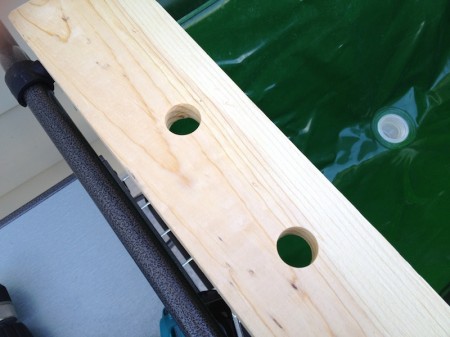
The holes were so large that we had to get a new drill bit to cut them, but when it was done, it looked good. You could probably do the same thing with a smaller drill bit and awkwardly make the hole bigger if you don’t want to invest in a new bit. The holes are covered by the faucet, so no one can see if they’re sloppy or not.
I checked to make sure the faucet fit into the holes.
I then checked to make sure the faucet wasn’t in the way of the PVC sink or any of the bars on the camp kitchen.
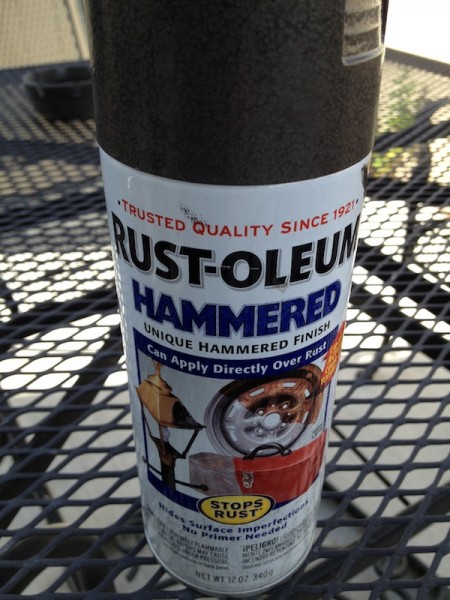
It looked good and fit well, so it was time to paint the board. I tried to find a paint that matched the bars of my camp kitchen. This Rustoleum hammered paint worked pretty well.
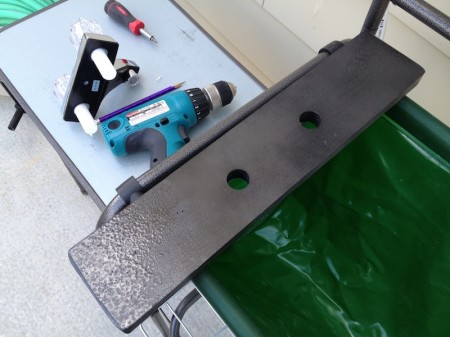
After I painted both sides, the faucet board looked like this.
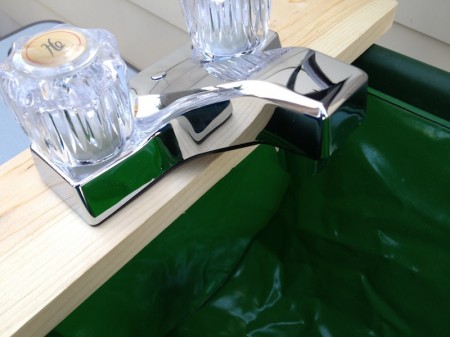
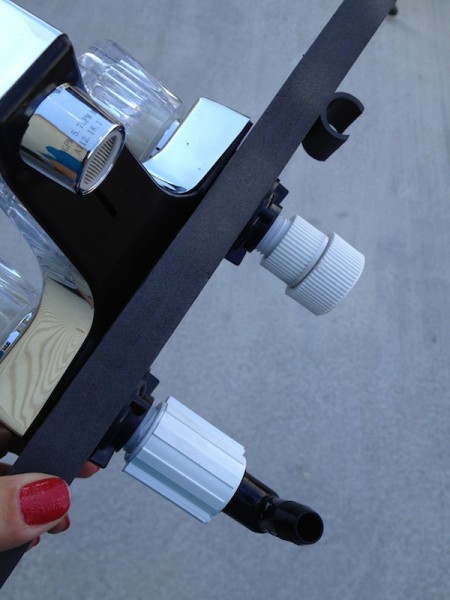
I inserted the faucet and screwed down the big plastic nuts to hold it in place.
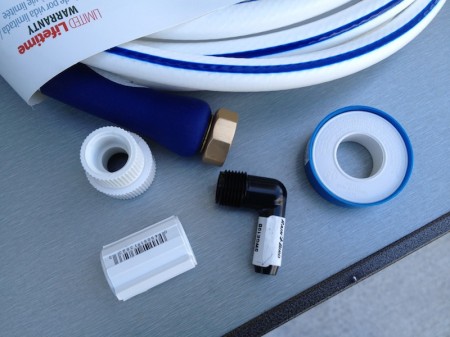
Finding the correct attachments was the most difficult part of this job. I recommend that you take the faucet out of the box when you’re in the store and try the fittings right there in the store until you find the right ones. All of the fittings were found in the sprinkler section of the home improvement store and they fit perfectly. What you need is there at the store, you just need to FIND it, which is sometimes the biggest challenge of a DIY project.
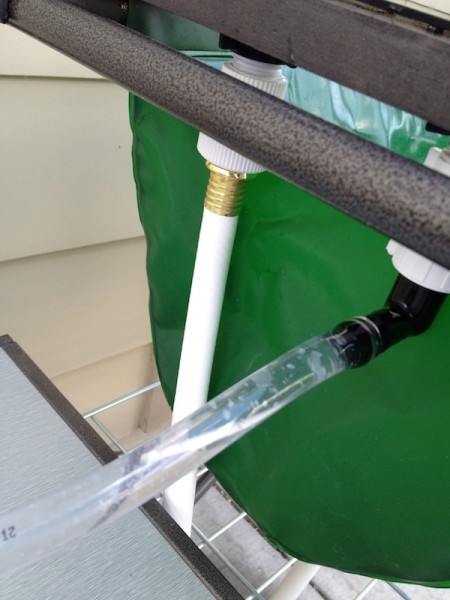
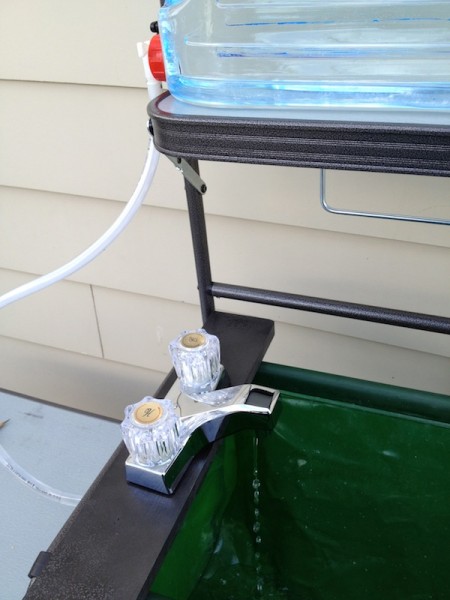
I attached the hose fitting to the cold handle and the aquarium tubing fitting to the hot handle.
Then I attached the RV potable water hose to the hose fitting and the water jug to the aquarium tubing.
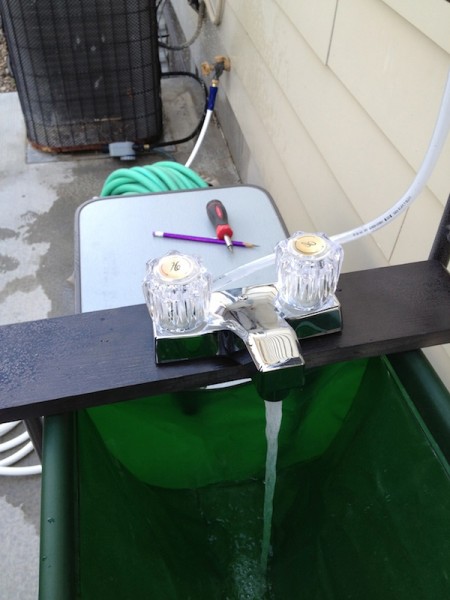
The water from the hose ran beautifully when I turned on the cold water handle.
The water from the gravity fed water jug piddled out like a dog at the end of its walk. I think the problem is that the water had to go up about four inches to get to the water spout, which was too much for that gravity fed system.
The water worked much better when I added the siphon pump from Harbor Freight. I had to replace the water jug with a collapsible container so that there wasn’t a problem with the vacuum created by the pump.
I can’t wait until we go camping again so I can test out my new camp kitchen faucet. It will be so nice to have running water right at our campsite, whether it’s provided by the campground or not!

I really like this, and am probably going to do something similar. However, I’m curious about the gravity-fed attempt. Is it possible that one of the reasons the flow was so small was that you were using a smaller diameter hose on the gravity fed system. (I noticed you used a reducer for it to fit the aquarium tubing).
I’m thinking of using a collapsible ice chest, fitting it with a drain that fits the same size hose you used for the right side fitting, and see if that will give enough water pressure.
I’m thinking that even when I have water provided, that would give me ice cold running water that would be easy to refill and easy to clean the container.
Comment by Herb Parsons — August 19, 2013 @ 11:40 am
Herb Parsons,
That just might work. I would LOVE to see the results of the attempt. When you’re done, send me the photos and I’ll post them here for other people who want to try the gravity-fed design.
I’m excited to see how it works, Laura
Comment by Laura Moncur — September 4, 2013 @ 10:07 am
Hello! Thank you! I am going to try something like this next week hopefully? I’m wondering if you can still add the removable countertop when the faucet is on? Thank you for your geniousness!
Comment by Anne — May 9, 2014 @ 7:32 pm
Do you have a list and specifics (i.e. size/type) of the parts used for this project?
Comment by Al — April 30, 2015 @ 11:37 am