One of my least favorite things about ice chests (or coolers) is the ICE. I hate how it melts and leaves everything in the cooler wet. Anything in a Ziploc bag might end up soggy and ruined if the zip top fails to keep out the water.
Oh, and it’s COLD when I have to stick in my hand and root around for a soda.
 This last camping trip, we found a way to keep our food cold without the melted ice soaking our food. The idea started with the old-time icebox. Back then, they kept food cold by putting a large block of ice in the top area of the icebox. What if I could do the same with my ice chest?
Firstly, we needed a large plastic container. We used the Snapware 29 cup bin because it fit nicely into our smaller Igloo cooler and it had a handle at the top. You might have to choose a different size based on your cooler.
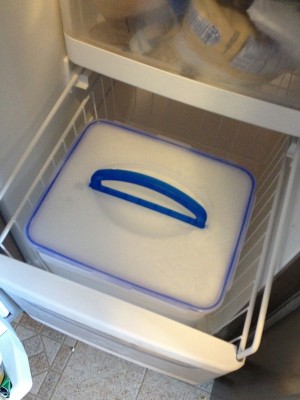 We filled the Snapware box almost full of water and made room for it in our freezer. You want to leave at least a half inch room because ice expands and takes more room than water. Additionally, we left the lid a little open so it wouldn’t crack the plastic. It took well over two days for it to fully freeze, so you really need to plan ahead for your trip.
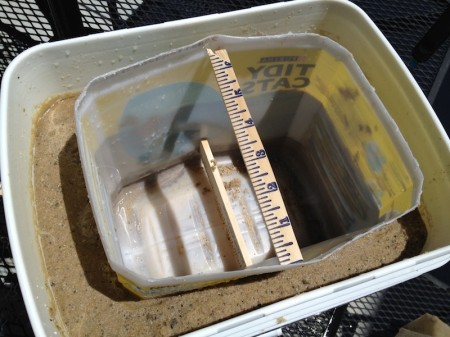
Once it was fully frozen, it looked like this. As you can see, I could have added at least an inch and a half more water when I froze it. If I had, the block might have lasted us longer.
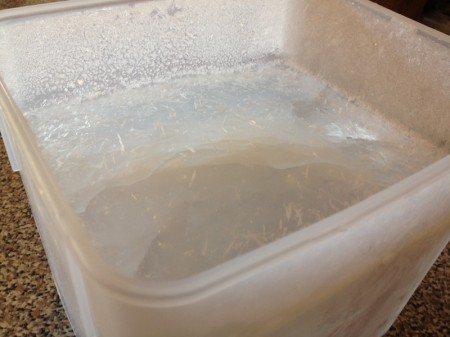
At this point, fill that last inch or so with water and put the box in the cooler. It will take up a lot of room, but remember, so does having a cooler full of ice. You want to position the block in the middle of the cooler and place the most perishable items nearest the block.
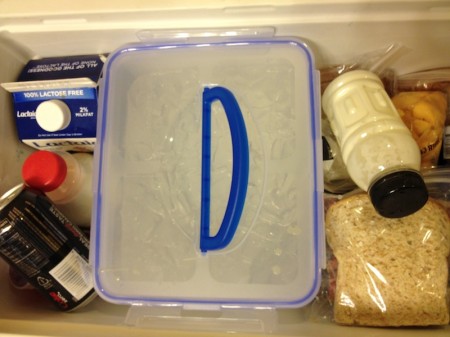
That block of ice lasted us a full five days driving to and camping in Quartzite, AZ a couple of weeks ago. The food wasn’t quite as cold as it would have been if it had been a cooler full of water and ice, but it lasted a LONG time. When the block is melting, don’t drain off the water. Water conducts the cold much better than air, so it will cool the items in your chest better if you keep the water. Once the block had fully melted, we had moved onto our hotel in Vegas, where we filled the Snapware with ice and water.
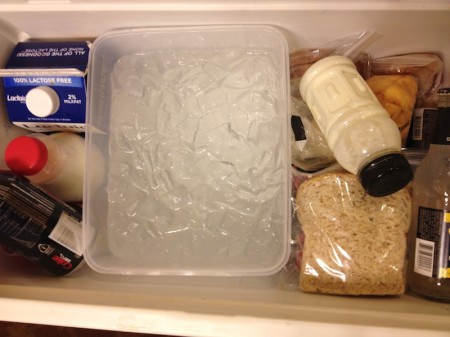
You want to fill it as full as you can with ice and add cold water. This will melt some of the ice, so add some more before putting your lid back on. Once again, you want the water as well as the ice because the water conducts the cold better than air. You can drain the water to add more ice, but make sure the entire box is filled with ice AND water. If you want to have ICE cold soda, you can put one or two cans in the Snapware container with the ice and water and it will be just as cold as a typical ice chest setup.

Make sure you always reattach the lid so that the ice and water don’t splash out of the Snapware box while you’re driving or moving the chest.
What I’d really like to do with this concept is find a container that fits on the lip within the top of the cooler. It would need to be shallow and wide enough to cover the entire top. The old iceboxes had the block of ice at the top of the cooler, because cool air naturally travels downward. Having the ice along the entire top of the cooler would be better than in the middle, but I couldn’t find anything that fit so precisely.
I’m also considering adding a drain spout to this container so that we can have ice cold water to drink. It was kind of hard draining this box without just dumping the whole thing out.
Dear Ice Chest Manufacturers: Please make me a cooler where I can EASILY put the ice and water in the LID of the cooler and my food can stay protected from the water. Put a spout on one side of the lid, so I can drain ice cold water to drink that hasn’t been contaminated by my leaky ziploc bag of bacon. Make me three different sizes of coolers with this feature and I will buy them ALL! KTHNXBAI!
Next time you have a camping trip or vacation planned, take the time to freeze yourself a solid block of ice in a plastic container and you will have a cold cooler without the soggy mess.
Happy Traveling!
 Mike and I saw the sign at the same time. I said,